Using Jekyll and Nix to blog
For my blogging I use Jekyll and Nix, hosted on Github Pages. Now that we have a working Nix on Windows setup, we can start to blog.
Gemfile
It all starts with a simple, Gemfile where I specify the dependencies needed. It should look something like this:
1
2
3
4
5
source 'https://rubygems.org'
gem 'github-pages', group: :jekyll_plugins
gem "minima"
gem 'jekyll-seo-tag'
gem 'jekyll-paginate'
Bundler updating, locking and downloading dependencies via bundix
- Update all gems to the latest allowed version:
bundler update - Lock
Gemfile.lock, usingbundler lock - Package all dependencies:
bundler package --no-install --path vendor - Apply bundix:
bundixBundix is going to generate agemset.nix, and move the gems into the nix store. - Cleanup:
rm -rf vendor/*
Bringing this all together into a simple script:
1
2
3
4
5
#!/usr/bin/env bash

nix-shell -p bundler -p bundix --run 'bundler update; bundler lock; bundler package --no-install --path vendor; bundix; rm -rf vendor'

echo "You can now run nix-shell"
The script is idempotent, so you can run this as many times as needed. Using nix-shell -p PACKAGENAME you obtain a new shell with the package, and all it’s dependencies downloaded, installed and added to the path. Once you exit the shell it is as it was never installed (although the package and it’s dependencies are still in the /nix/store).
Running Jekyll
We can now have a default.nix with all the right links to the bundixed packages, something similar to this:
1
2
3
4
5
6
7
8
9
10
11
12
13
14
15
16
17
18
with import <nixpkgs> { };

let jekyll_env = bundlerEnv rec {
    name = "jekyll_env";
    inherit ruby;
    gemfile = ./Gemfile;
    lockfile = ./Gemfile.lock;
    gemset = ./gemset.nix;
  };
in
  stdenv.mkDerivation rec {
    name = "nathan.gs";
    buildInputs = [ jekyll_env bundler ruby ];

    shellHook = ''
      exec ${jekyll_env}/bin/jekyll serve --watch
    '';
  }
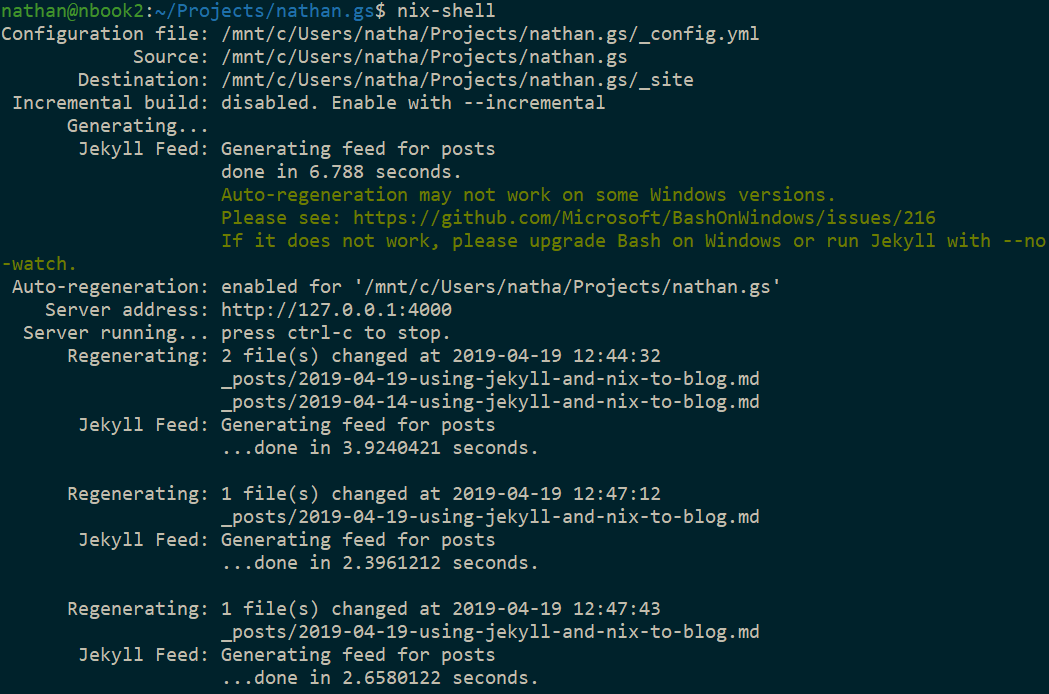
Now you can just run nix-shell to have a working jekyll environment.
Credits
-
Building a Jekyll Environment with NixOS by Stefan Siegl
Main difference is that it’s no longer necessary to remove
, group: :jekyll_pluginsfrom yourGemfile
